Getting Started
Welcome to Mailgun!
APIs are at the heart of Mailgun. While most of the Mailgun service can be accessed through our RESTful HTTP API without the need to install any libraries, we have written libraries for a lot of the popular languages.
Mailgun features can be accessed through the Mailgun Control Panel using your browser and logging in at https://app.mailgun.com/app/dashboard.
If you have questions or need help, please feel free to contact our Support Team at https://app.mailgun.com/support
Let's get started!
Domain Verification
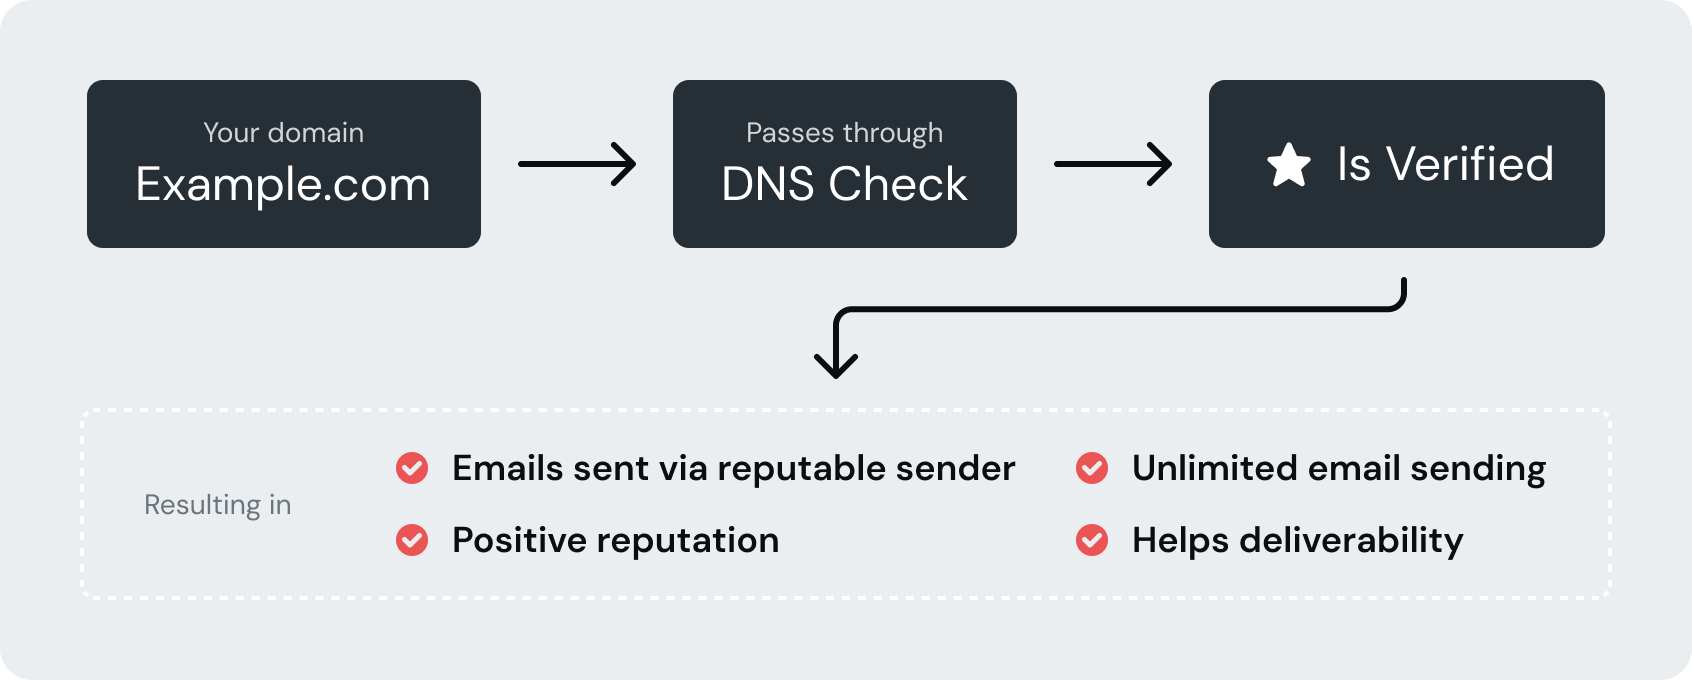
Five reasons why you need to verify your domain:
- To prove you are an authorized sender for the domain
- Verified domains are not subject to a sending limit of 300 emails per day
- No more "sent via Mailgun.org" message in your emails
- Establishes a positive email reputation for your own domain
- Mailgun is less suspicious of traffic that is being sent on verified domains and that reduces the likelihood of being disabled
Note:
For more information and help related to verifying domains, visit How Do I Verify My Domain? and Other DNS Questions.
Types of Domains
There are two types of Domains:
Sandbox Domain
Each new Mailgun account is automatically provisioned with a sandbox domain, sandbox <uniq-alpha-numeric-string\>@mailgun.org. This is for testing purposes only. Sandbox domains can only send to authorized recipients.
Your Sandbox Domain allows:
- Sending messages to lists with up to 5 authorized participants
- Receiving Messages
- Tracking
Note:
Sending limitations are also in effect for routes that are triggered by message addresses to the sandbox domain and mailing lists created under that domain.
To use your Sandbox Domain:
- Log in to your Mailgun account
- Go to the Mailgun Control Panel
- On the left side control panel, click Sending to expand the sidebar, then click Domains
- Click on your Sandbox Domain link to go to the Overview page
- On the Overview page, select API or SMTP to see quick instructions on how to send.
Custom Domains
To be able to use Mailgun in production, your custom domain(s) must be created and verified with Mailgun.
Add your domain:
- Go to the Mailgun Control Panel
- Select Domains from the left panel
- Click the Add New Domains button from the upper right corner
- Enter your domain name in the Domain name field
- Select Domain region
- Choose your IP assignment option
- Click the Add Domain button
Once a domain has been added, you will receive an email that you will need to respond to so that it can be verified.
Verifying your domain:
Go to Domain Verification Walkthrough for a step-by-step guide on how to verify your domain with Mailgun.
Note:
It can take 24-48 hours for DNS changes to propagate
- Add your domain or subdomain
-
Open your DNS provider and add the two TXT DNS records provide
- SPF (Sender Policy Framework): Sending server IP validation. This is used by most email providers.
- DKIM (DomainKeys Identified Email): Like SPF, however cryptographic methods are used for validation.
- If you would like Mailgun to track clicks and opens, add the CNAME record
- MX records should also be added, unless you already have MX records for your domain pointed at another email service provider (e.g., Gmail)
Once you've added the records and they've been propagated, your domain will be verified.
Once you've added the two TXT records and they've been propagated, your domain will be verified. Verified domains will show up on the Mailgun Control Panel with a green Verified badge next to it.
For more on how to verify your domain, see this article on Domain Verification Walkthough.
Other DNS Records
- CNAME (Canonical Name) DNS record with value mailgun.org should be added if you want Mailgun to track clicks, opens, and unsubscribes.
- MX (Mail Exchange) records are required if you would like Mailgun to receive route/store messages addressed to the domain recipients. You will need to configure two (2) MX records with values 10 mxa.mailgun.org and 10 mxb.mailgun.org
DNS Records Summary
| Type | Required | Purpose | Value |
|---|---|---|---|
| TXT | ✅ | Domain Verification (SPF) | v=spf1 include:mailgun.org ~all |
| TXT | ✅ | Domain Verification (DKIM) | Find this record in "Domain Verification & DNS" section of the settings page for a particular domain in the Mailgun control panel. |
| CNAME | Enables tracking | mailgun.org | |
| MX | Enables receiving | 10 mxa.mailgun.org | |
| MX | Enables receiving | 10 mxb.mailgun.org |
Common DNS Providers Documentation
| Provider | Link to Documentation |
|---|---|
| Go Daddy | MX |
| NameCheap | All Records |
| Network Solutions | MX CNAME TXT |
| Rackspace Email & Apps | All Records |
| Rackspace Cloud DNS | Developers Guide |
| Amazon Route 53 | Developer Guide |
Managing User Roles
Role-based access control sets all current users to Admin by default. In order to change roles, there must be at least two users on the account. In order to designate different roles on your account, there must be more than one user.
To see your credentials, or to add a new user:
- Click on your account name in the upper right corner
- Under Account Settings, click Security
| Role | Description |
|---|---|
| Admin (Default) | Read/Write access to everything Rotate and expire API keys Create and revoke SMTP credentials Create and administer control panel users Edit account details
|
| Analyst | Access to read most data Can only modify their own settings |
| Billing | Billing focuses on billing actions Most of their access will be read only The only non-admin users who have access to: Account upgrade Editing credit card on file Setting/clearing custom send limits Setting/clearing custom verification limits |
| Support | Support users are restricted to what they can edit Can read most data Edit suppressions Edit mailing lists and members Edit authorized recipients Open and comment on support tickets |
| Developer | Can read/write almost all data Edit webhooks Edit routes Edit Domain settings View API keys and SMTP passwords *WARNING!* This role has access to read API Keys and SMTP credentials. This data is highly sensitive |
Note:
Having MX DNS records configured may improve deliverability of messages sent from the domain. Adding them even if you do not plan the domain to get inbound messages is highly recommended.
Warning!
Do not configure MX DNS records if you already have another provider handling inbound mail delivery for the domain.
